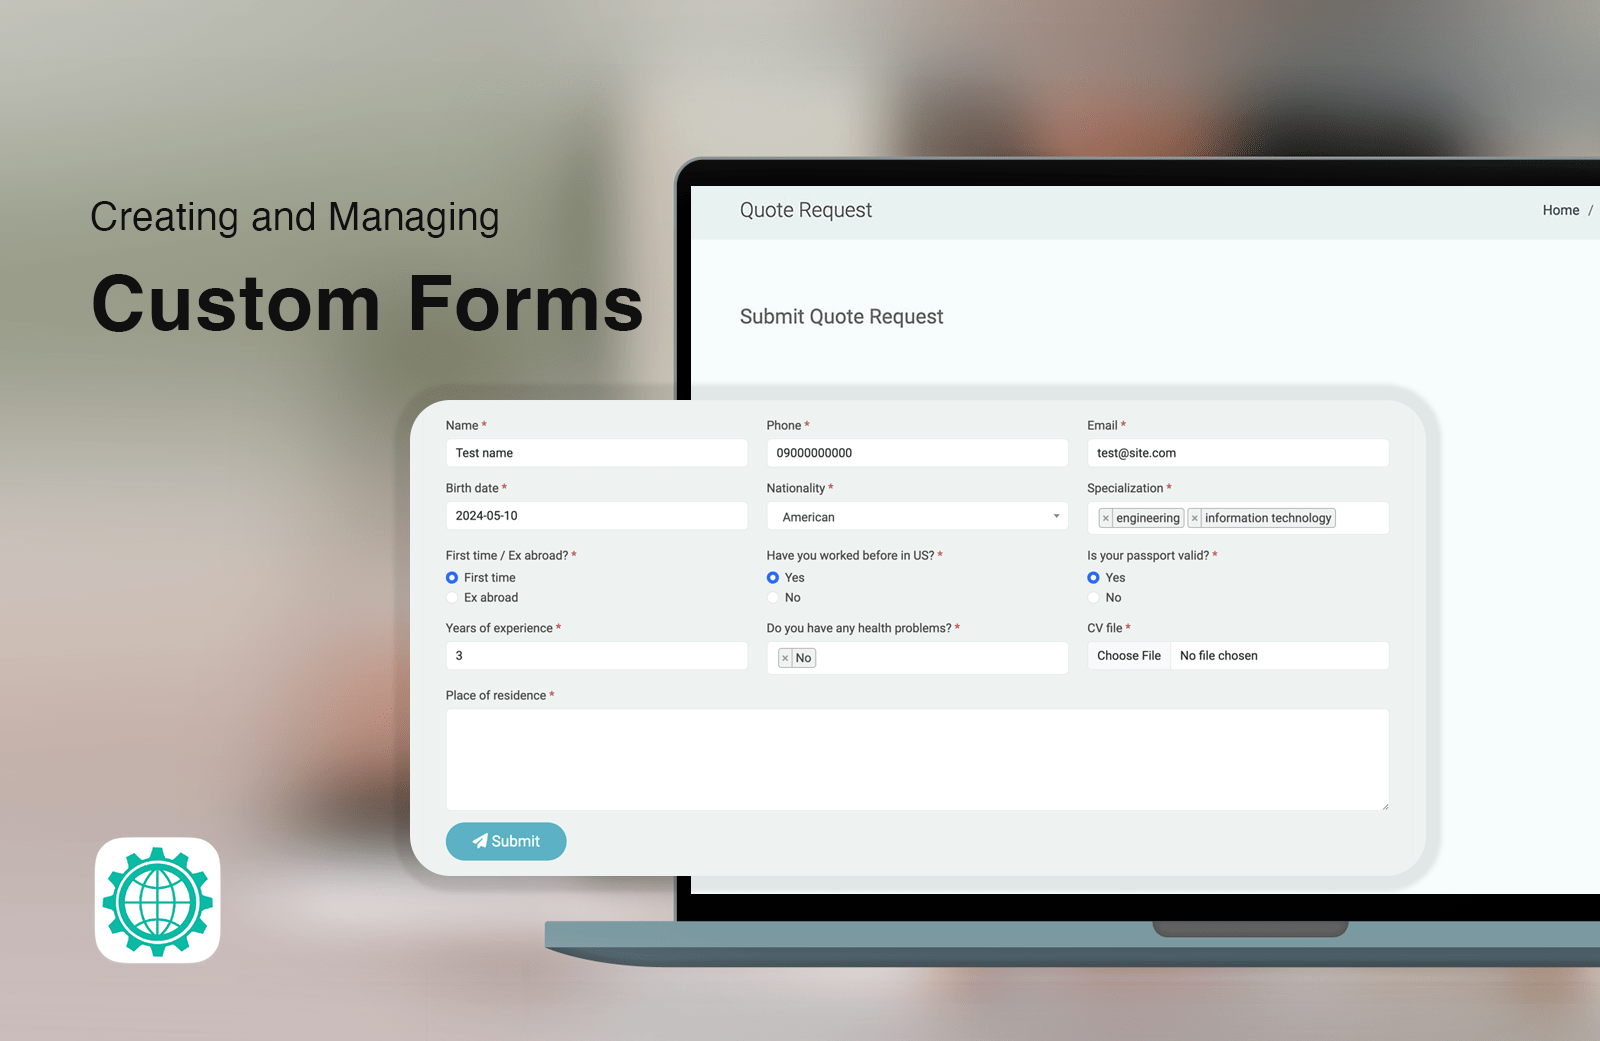
Smartend CMS enables you to create custom public forms to collect information from your website visitors. These
forms can be attached to any page or post, and the collected data will be accessible via a dedicated dashboard
page. You can manage, print, or export the data, and even receive email notifications for each form submission.
Customize the form with various field types to suit your needs. Make the most of
custom forms to enhance your website’s functionality!
Step 1: Create the Form
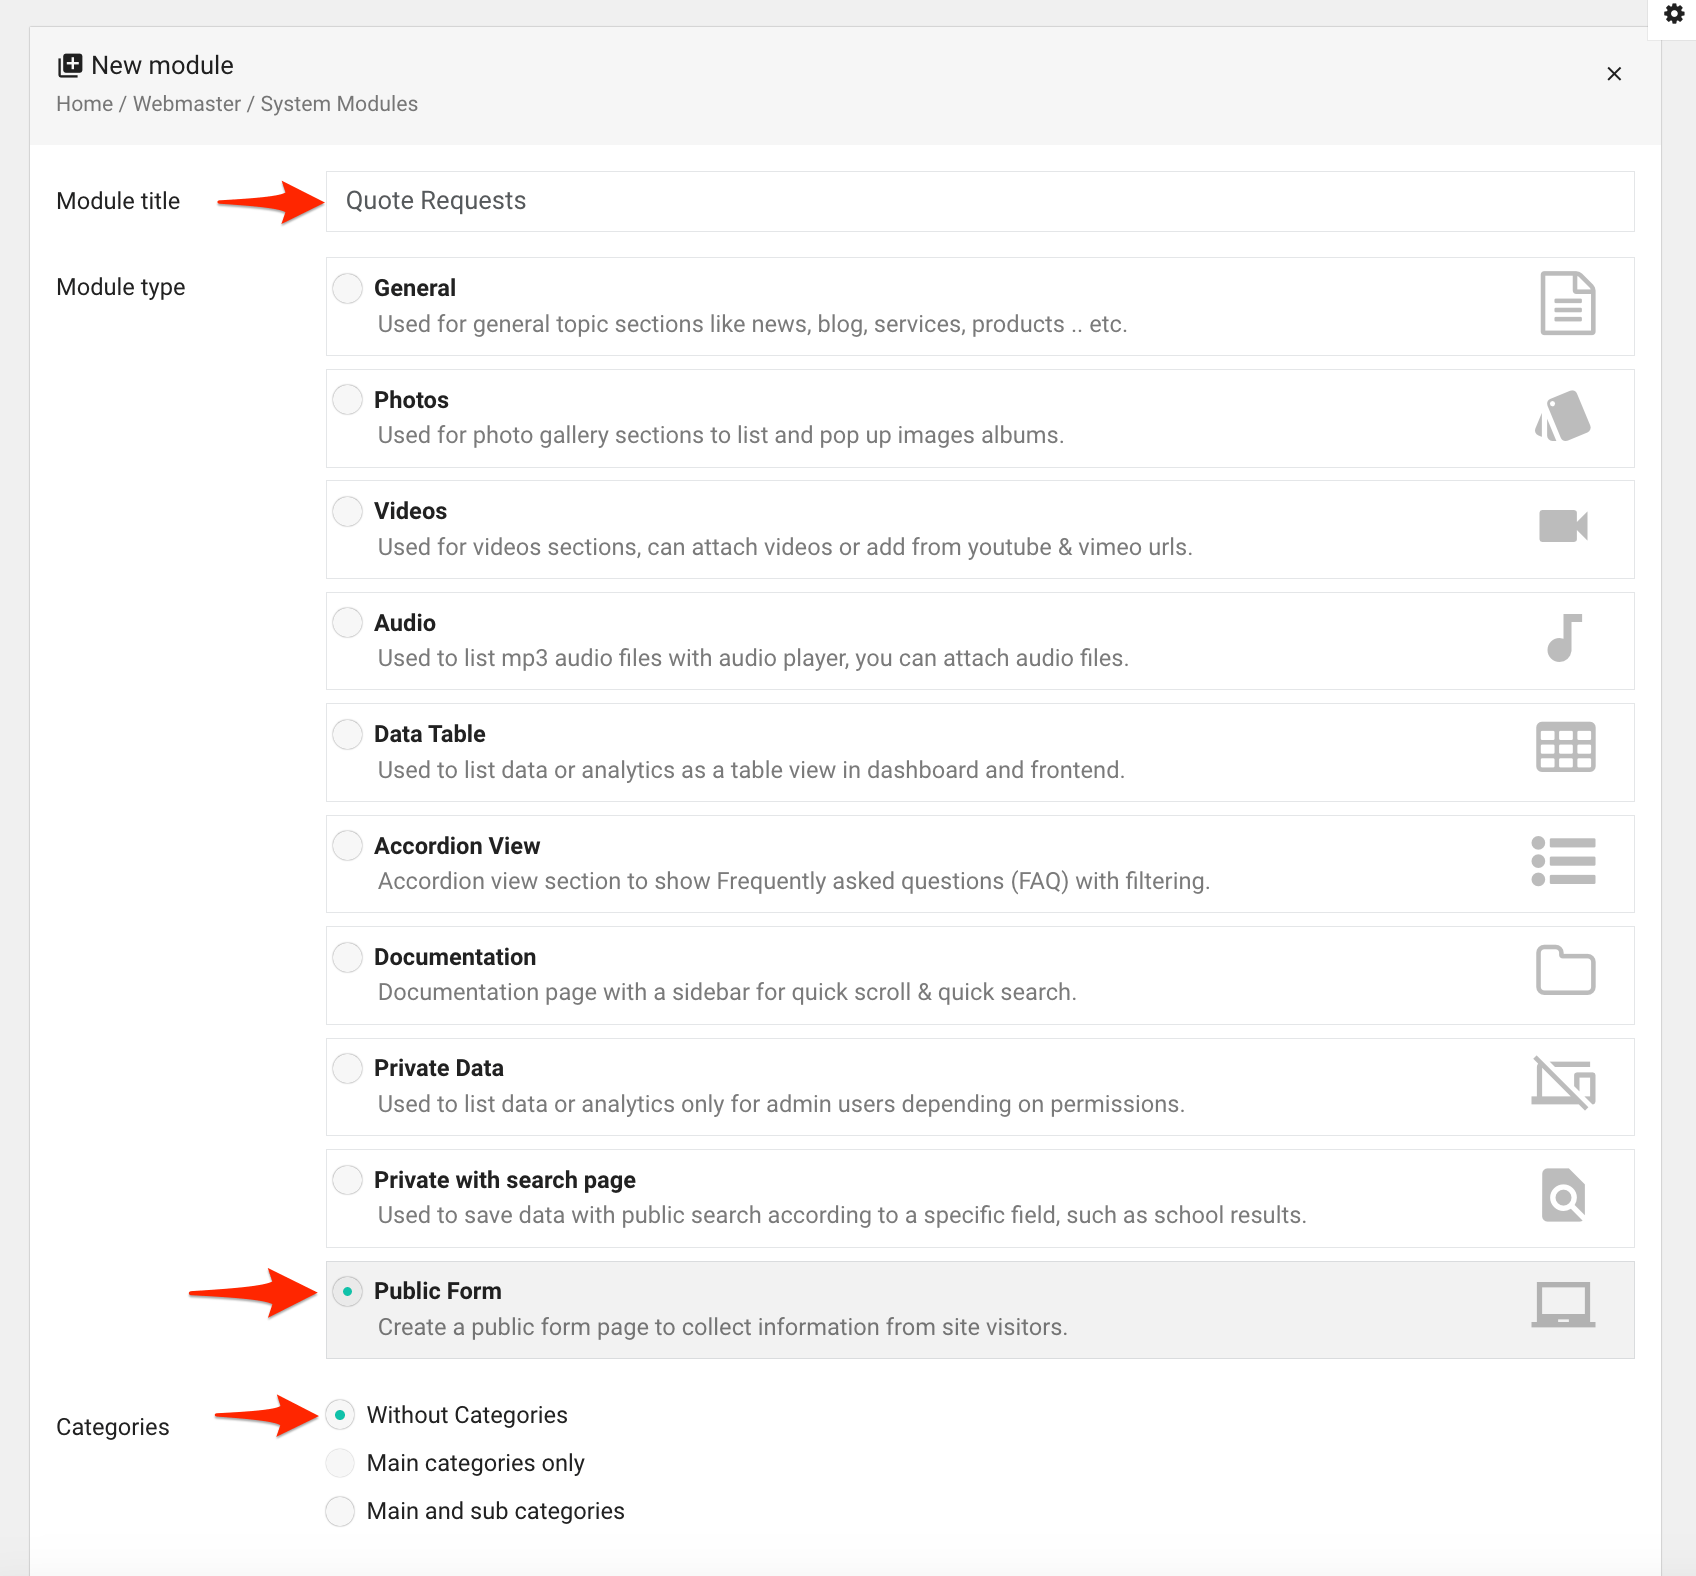
- Navigate to Dashboard => System Modules
- Click the New Module button.

- Enter the form name in the "Module Title" input field, e.g., "Quote Requests".
- Select Public Form from the Module Type dropdown list.
- Set Categories to Without Categories.

- Disable the Title Field (enabled by default) and any other optional fields as needed.
- Click Add to create the form.
Step 2: Customize the Form Fields
Once the form is created:


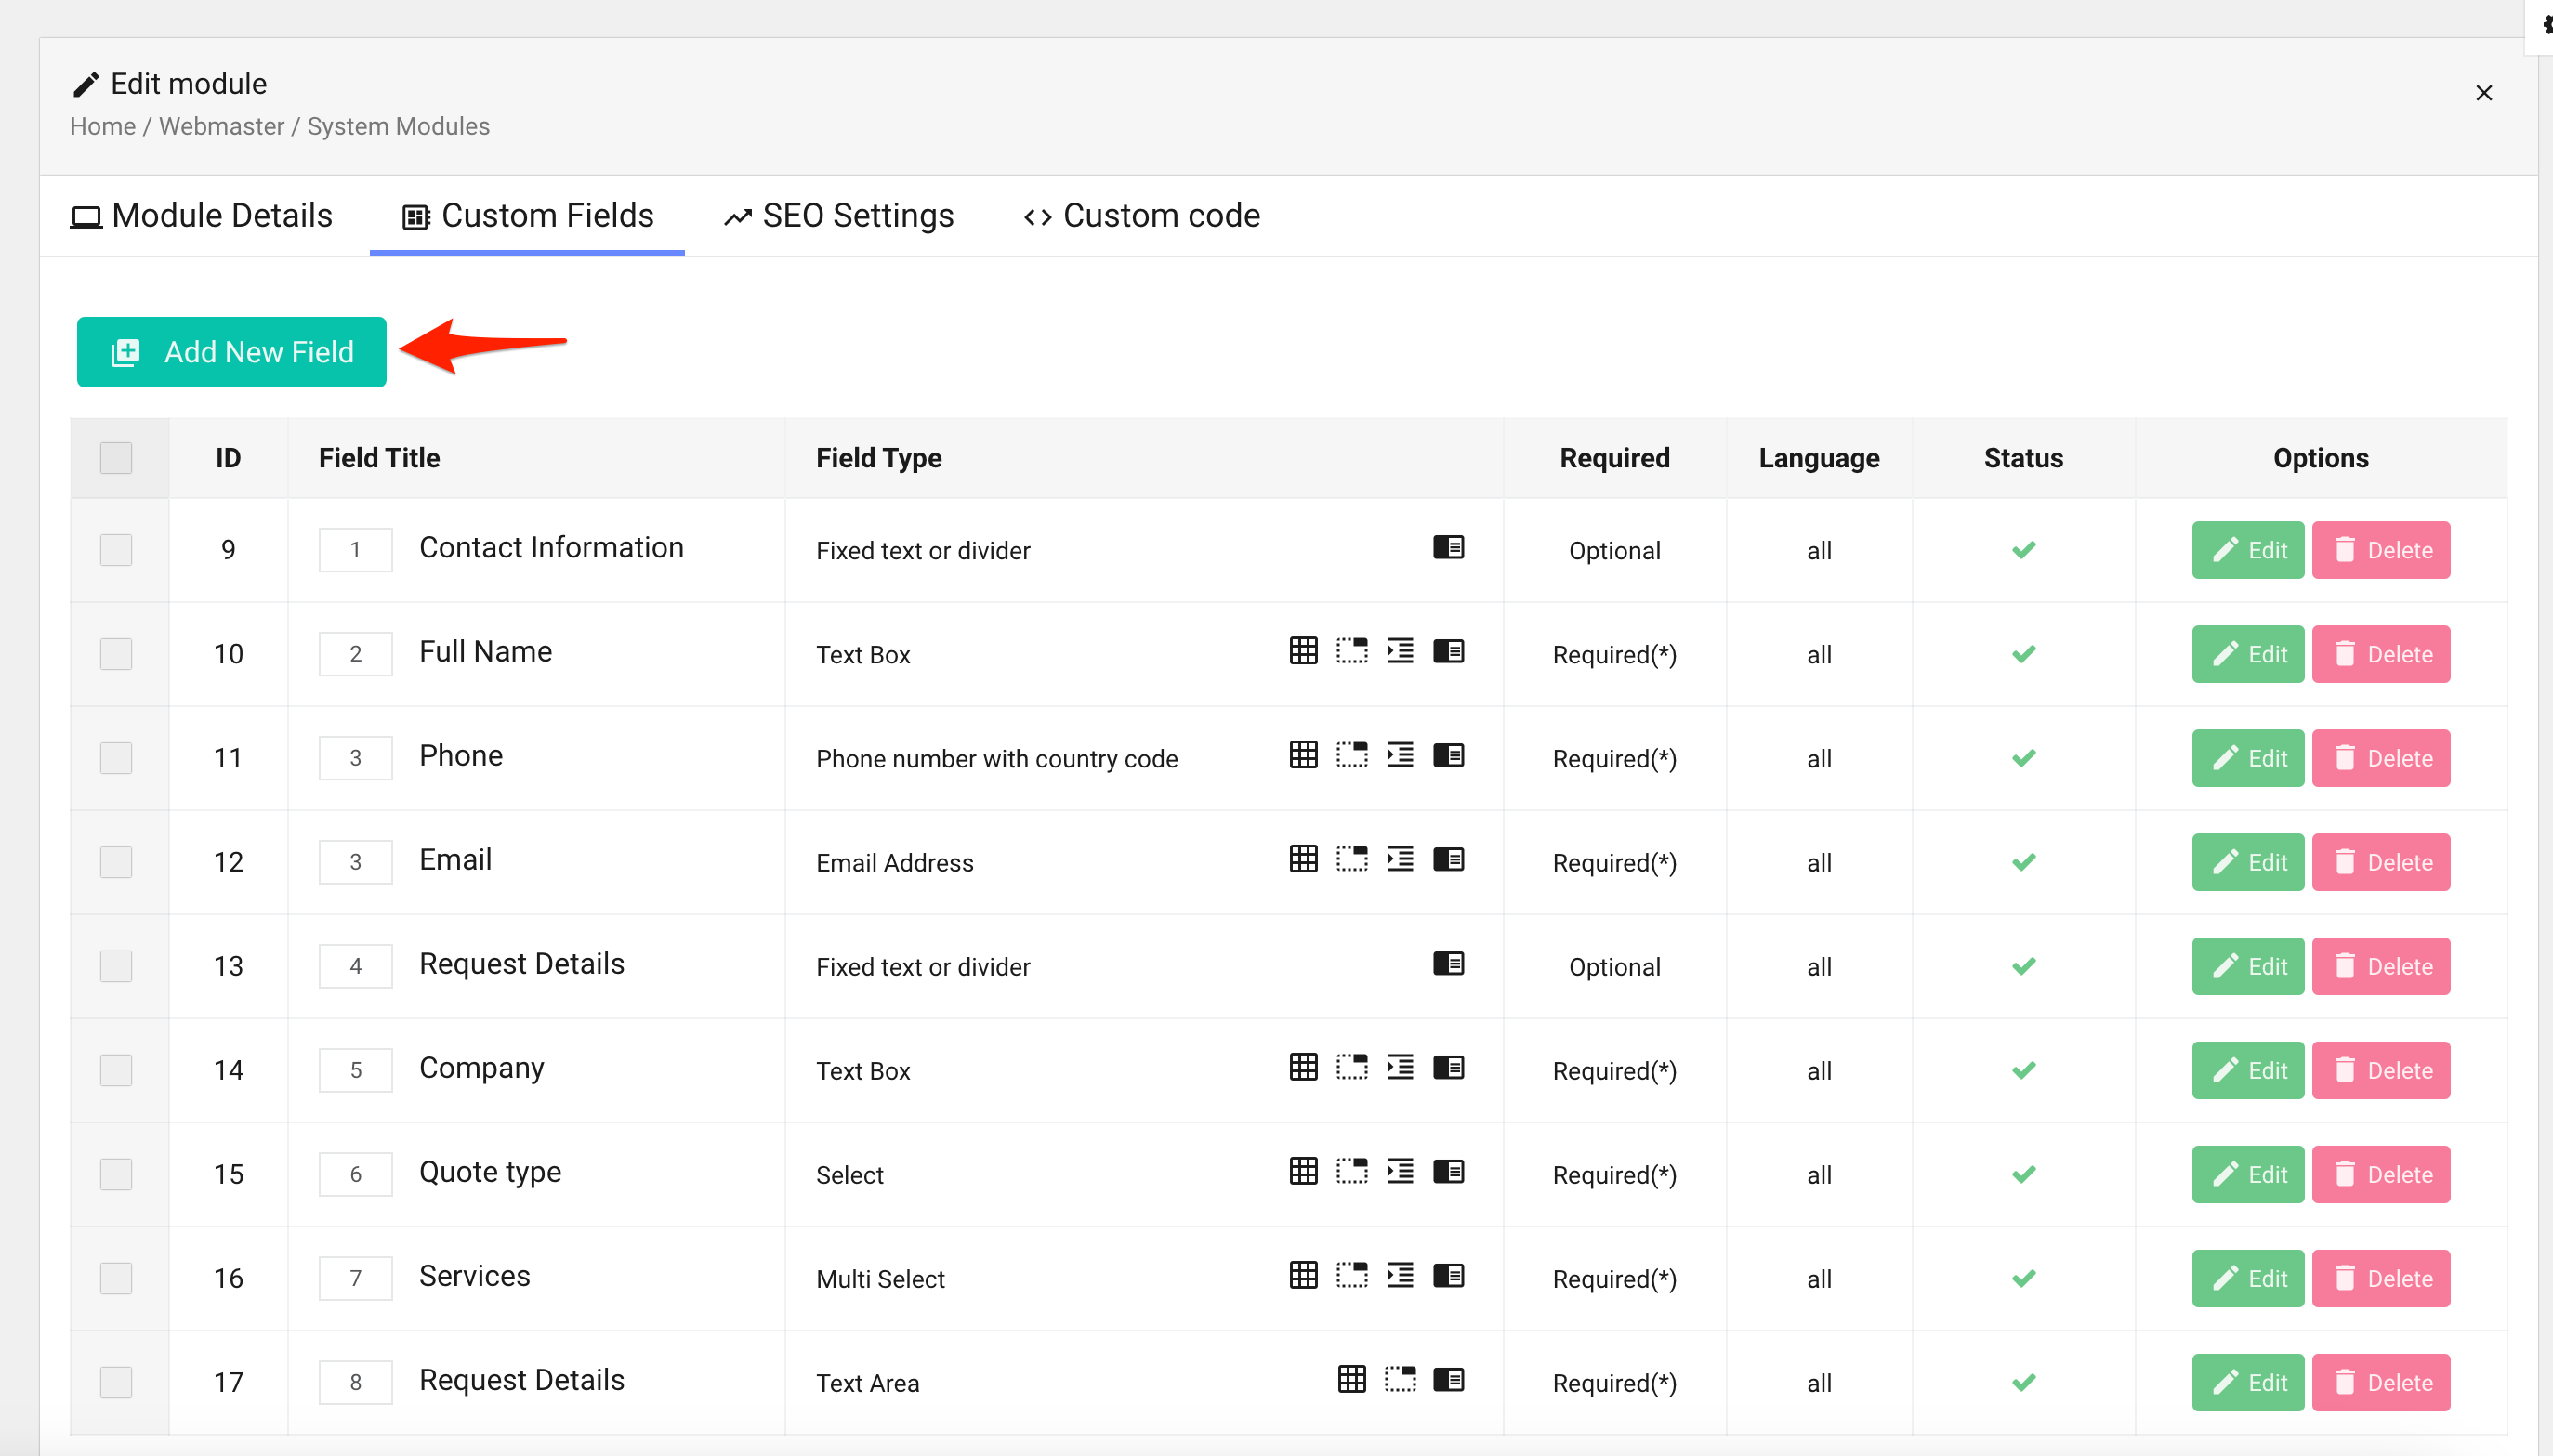
- Navigate to the Custom Fields tab.
- Click Add New Field to create the first field.
- Provide the field title, e.g., "First Name".
- Select the field type, such as Text Box.
- Mark the field as Required if needed.
- Click Add to save the field.
- Repeat the process to create additional fields.
Available Field Types:
- Text Box: Short text (e.g., names, titles).
- Text Area: Long text or multi-line entries.
- Number: Numeric values.
- Phone Number with Country Code: Phone or mobile numbers.
- Email Address: For email input (can integrate with newsletters).
- Date: A date picker.
- Date & Time:: A date and time picker.
- Select: Dropdown for single-choice options.
- Select (Radio): Radio buttons for single-choice options.
- Multi-Select: Dropdown for multiple-choice options.
- Checkbox: Confirmation or agreement fields.
- Photo File: Upload image files.
- Attach File: Upload any file type.
- Video File: Upload video files (e.g., MP4).
- YouTube Video Link: Accept YouTube video links.
- Vimeo Video Link: Accept Vimeo video links.
- Fixed Text or Divider: Static text or a divider between fields.
Custom Field Permissions:
You can restrict certain fields to specific user groups. For example, add a field for "Status" (e.g., Pending,
Reviewed, Completed) that only admins can update.
Step 3: Attach the Form to a Page
- Navigate to the desired module’s page editing section.
- Locate the Custom Form field.
- Select the form you created in the previous steps.

Step 4: Test the Form

- Open the page on the frontend using the Preview link.
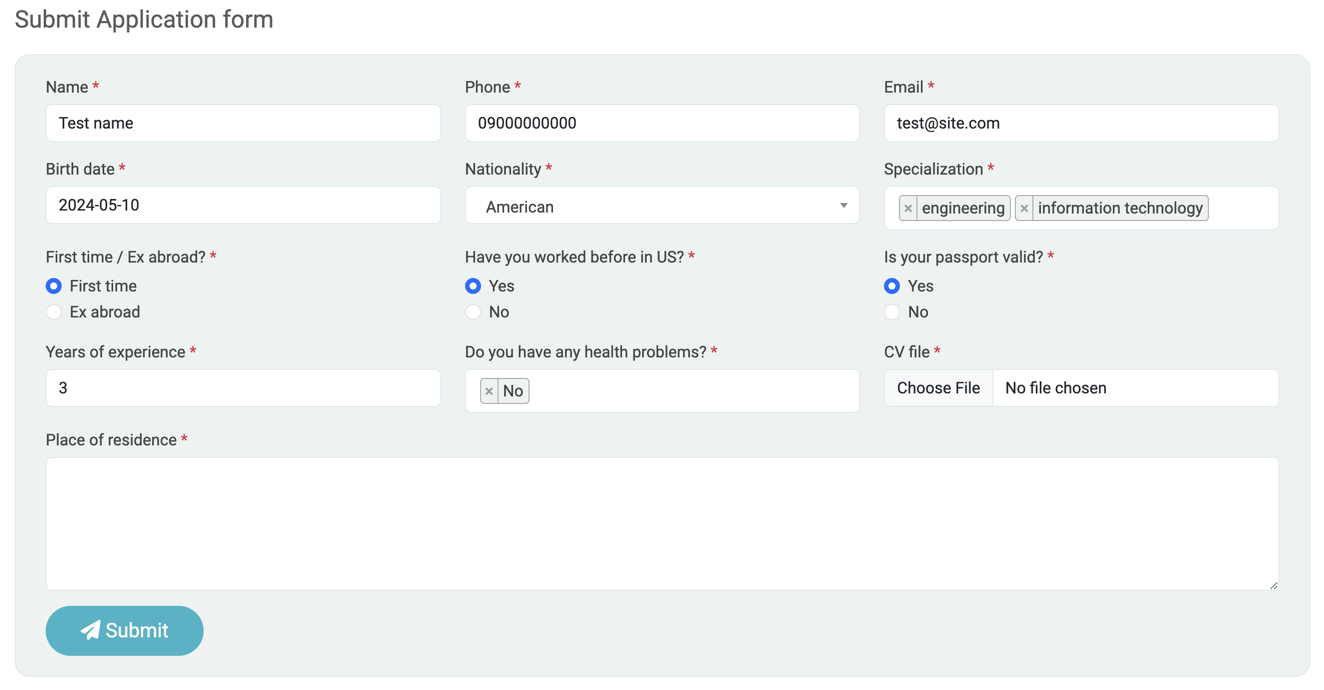
- The form will appear below the page content.
- If Google reCAPTCHA is enabled, it will automatically integrate with the form.
- Fill in all fields and submit the form to test functionality.
- To enable email notifications for form submissions, go to Dashboard => Website Settings => Notification Settings.
Step 5: Manage Submitted Data

Each form or module you create will appear in the dashboard’s left-side menu.
- Access the dedicated page for managing submitted data.
-
Use the features to:
- Preview submissions.
- Search, update, or delete records.
- Print or export data to an Excel file.
- Customize the data table columns.
 Smartend
