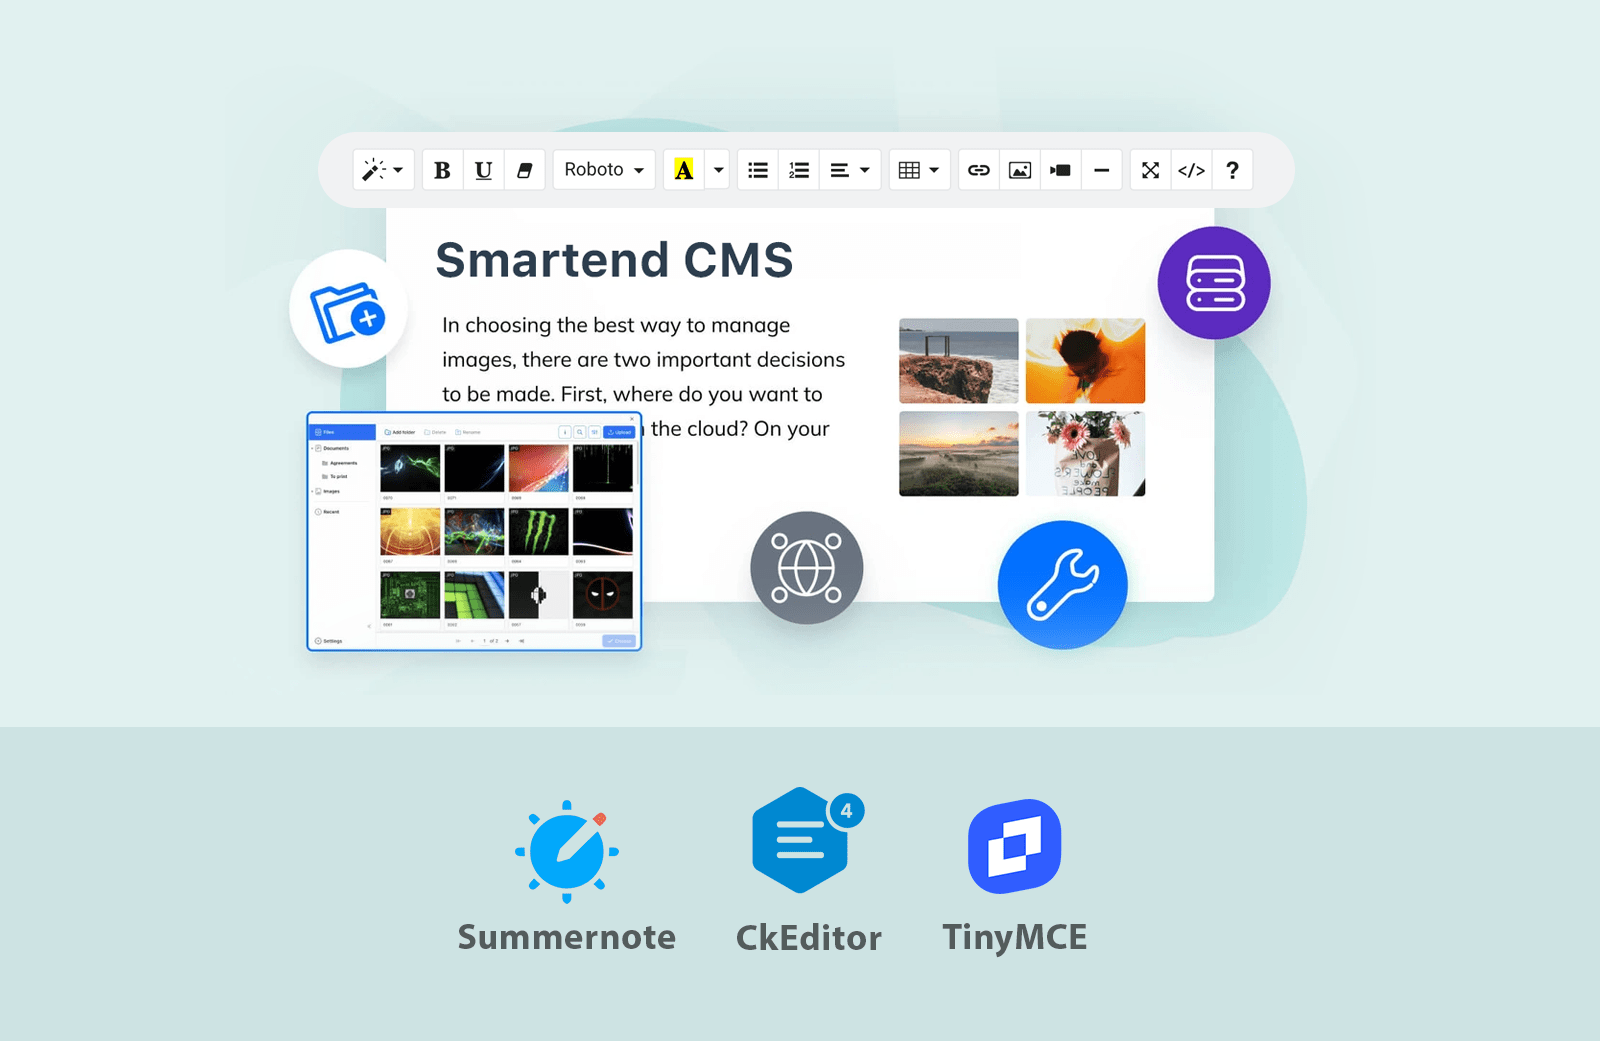
Select Your Preferred Text Editor
Easily customize your content creation experience by selecting the text editor that best suits your needs.
Navigate to System Settings ➝ Text Editor to choose from the available options:
-
Summernote (Default):
A simple, lightweight editor equipped with all the essential tools for basic text formatting. Ideal for quick and easy editing. -
CKEditor:
A powerful, feature-rich text editor offering advanced tools for HTML formatting and in-depth content customization. Perfect for users who require more control over their content. -
TinyMCE:
A sleek, modern editor that combines advanced features with an intuitive user interface, ensuring a smooth and efficient editing process.
Using Text Editors for Page Content Formatting
From the left side menu Navigate to the module then to the page or post you want to edit. The editing page will be opened depending on the selected text editor. Follow the following steps to edit your content:Basic Formatting Tools
-
Text Styling
- Bold (B), Italics (I), Underline (U): Highlight the text and click the respective button.
- Font Size & Font Family: Use the dropdown menus to change the font style and size.
- Text Color & Background Color: Select the color palette to modify text and background colors.
-
Paragraph Formatting
- Headings: Use the dropdown to apply heading styles (H1, H2, H3, etc.).
- Alignment: Align text to the left, center, right, or justify.
- Line Spacing: Adjust line spacing for improved readability.
-
Inserting Links
- Highlight the text you want to hyperlink.
- Click the Link button and insert the URL.
- Choose if the link opens in the same window or a new tab.
Adding Media
-
Inserting Images
- Click the Image icon.
- Upload an image from your computer or insert the URL.
- Adjust the size, alignment, and alt text.
-
Embedding Videos
- Click the Video button.
- Insert a YouTube/Vimeo link or upload a local video.
- Resize and position the video as needed.
Advanced Tools
-
HTML Editing
- Switch to HTML View by clicking the Code View button.
- Insert custom HTML, CSS, or JavaScript.
-
Tables
- Click the Table icon to create tables.
- Add rows/columns and adjust cell properties.
-
Special Characters
- Insert special symbols and characters by clicking the Special Characters icon.
Using Drag and Drop editor for Page Content Formatting
Enhance your page design effortlessly by using the drag-and-drop editor instead of the traditional text editor. Here’s how to get started:-
Switch to Drag-and-Drop Mode
- Click the Use Drag & Drop Editor button to activate the drag-and-drop interface. This will replace the standard text editor, giving you greater control over page layout and design.
- Click the Use Drag & Drop Editor button to activate the drag-and-drop interface. This will replace the standard text editor, giving you greater control over page layout and design.
-
Adding Rows and Blocks
- You can add multiple rows to your page and divide them into various content blocks.
- Click the plus (+) icon to insert predefined blocks from a selection of layouts, such as images, text, or multimedia elements.
- Each block is fully customizable—update the content, rearrange sections, or delete any unnecessary blocks.
-
Responsive Preview
- Use the preview feature to see how the page looks on different screen sizes (desktop, tablet, mobile). This ensures your design is responsive and user-friendly.
- Use the preview feature to see how the page looks on different screen sizes (desktop, tablet, mobile). This ensures your design is responsive and user-friendly.
-
Saving and Continuing
- Once satisfied, click the **save icon** in the top-right corner to finalize the changes.
- If needed, you can switch back to the traditional text editor at any time to continue refining the content.
 Smartend
