Introduction
Keeping your Smartend CMS up-to-date is essential for security, performance, and access to new features. Each update includes improvements such as bug fixes, security patches, and enhancements to functionality, ensuring that your site remains robust and efficient.
Staying current also maximizes compatibility with new technologies and standards, reducing the risk of potential issues over time.
This guide will walk you through each step to seamlessly update your CMS, so you can take full advantage of Smartend’s latest capabilities.
Before You Update
It's crucial to back up both your website database and files before starting the update process. A backup allows you to restore your site in case of any issues or if you need to reintegrate customizations into the new version.
Warning
Be aware that the upgrade process will overwrite all core system files, so any customizations made directly to those files will be lost. Only custom pages and modifications that follow the Smartend customization structure will be preserved.
Be aware that the upgrade process will overwrite all core system files, so any customizations made directly to those files will be lost. Only custom pages and modifications that follow the Smartend customization structure will be preserved.
How to Backup the Database
- Go to your hosting panel and open PHPMyAdmin.
- Select your website’s database.
- Navigate to the Export tab and export the full database tables and contents to an SQL file.
How to Backup Website Files
- Access your hosting panel and go to File Manager.
- Compress all website files, then either save them securely on your server or download the zip to your local machine.
- Navigate to the Export tab and export the full database tables and contents to an SQL file.
Automatic Update Guide
If you’re running Smartend CMS version 10.0.0 or later, you can take advantage of the built-in updater available within your website dashboard.
Follow these steps:
- Go to Dashboard => System Settings => System Update.
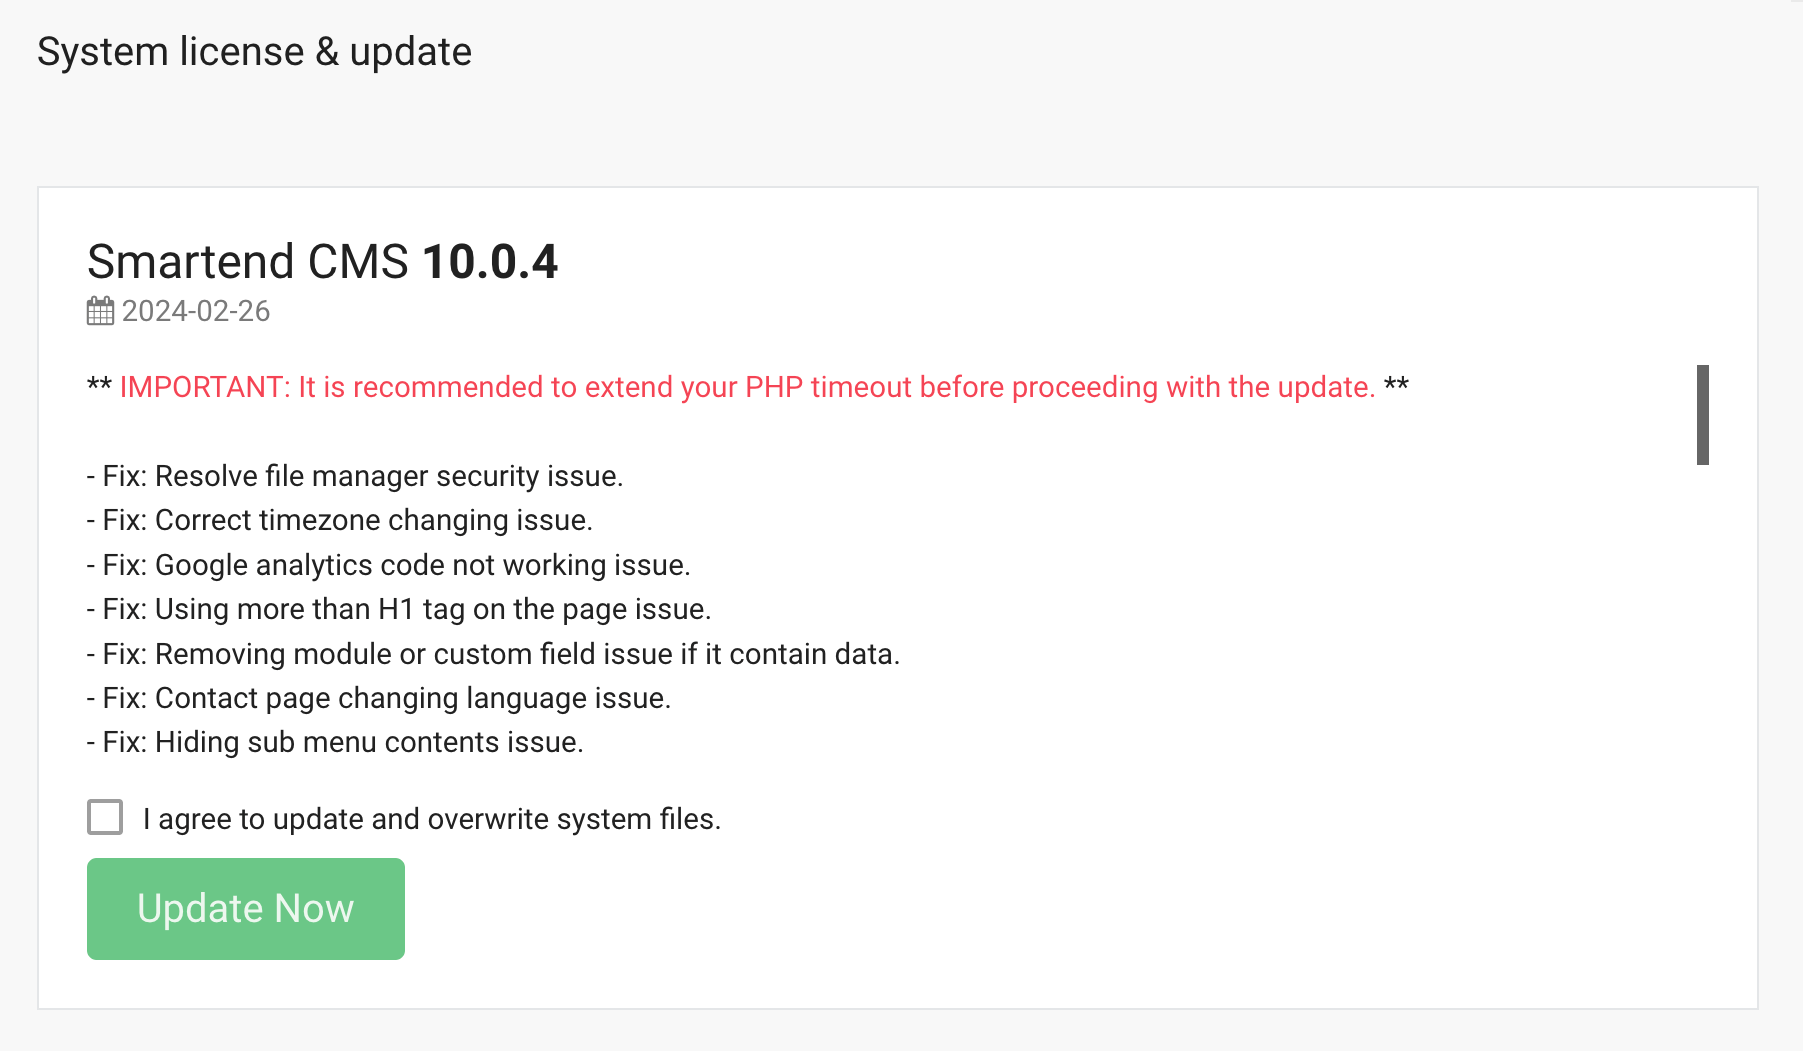
- The system will automatically check for new updates. If an update is available, a change log with all details will appear.
- Carefully review the change log, then check the box to accept the upgrade.
- Click Update Now to start the process.
During the update process, Smartend CMS will connect to the server, download the necessary update files, and apply the changes to your website. The process may take a few minutes to complete, depending on your connection and server speed.

Once the update is finished, the website will automatically refresh, reflecting the latest version. You can confirm a successful update by returning to the System Update page, where you should now see the latest version number displayed.

Manual Upgrade Guide
Accessing Update Files
To obtain the latest version of Smartend CMS, log in to your account on Codecanyon. From the Downloads page, locate Smartend in your purchase list and download the latest full version. Ensure you’re logged in with the account originally used for the Smartend purchase to access the updates.
Updating the Database
Start by backing up your database in case you need to revert any changes. To apply SQL updates correctly, identify your current website version from the admin dashboard footer and follow these steps:
- If your version is older than 7.0.0, import this update7.zip SQL update file.
- If your version is older than 8.1.0, import this update8_1.zip SQL update file.
- If your version is older than 8.6.0, import this update8_1.zip SQL update file.
- If your version is older than 10.0.0, import this update10.0.zip SQL update file.
- If your version is older than 10.0.3, import this update10.0.3.sql.zip SQL update file.
- If your version is older than 10.0.4, import this update10.0.4.sql.zip SQL update file.
- If your version is older than 12.0.0, import this update12.0.0.sql.zip SQL update file.
Updating Project Files
- Make sure to back up your entire project directory for safety.
- Upload and replace all files from the new version, except for:
- `/uploads` directory
- `/core/.env` file
- Rename `/core/storage/_installed` to `installed`.
- Visit your website, and press "Ctrl+F5" to refresh your browser cache.
- Log into the admin dashboard to explore new features and settings.
If you have updated translations, avoid replacing the `/core/resources/lang` folder. Instead, locate any new language variables at the end of the updated files and manually add these to your current language files.
If you encounter any issues, please contact our support team for assistance.
Troubleshooting Update Issues
Website Not Updating Properly
Clear your browser cache (Ctrl+F5) and refresh your website. Ensure that you’ve replaced all files correctly and that database migrations were applied.
Missing Features After Update
Double-check that all files and database updates were applied properly. If some features are missing, recheck the update instructions or reinstall the update files.
Error Messages or Broken Website
Restore from your backup if necessary. Ensure the `/core/storage/_installed` file was renamed to 'installed' and confirm all necessary files were replaced.
Translation Issues
If your translations are not displaying properly, manually copy new language variables from the updated files into your existing language files. Avoid replacing the entire `/core/resources/lang` folder.
 Smartend